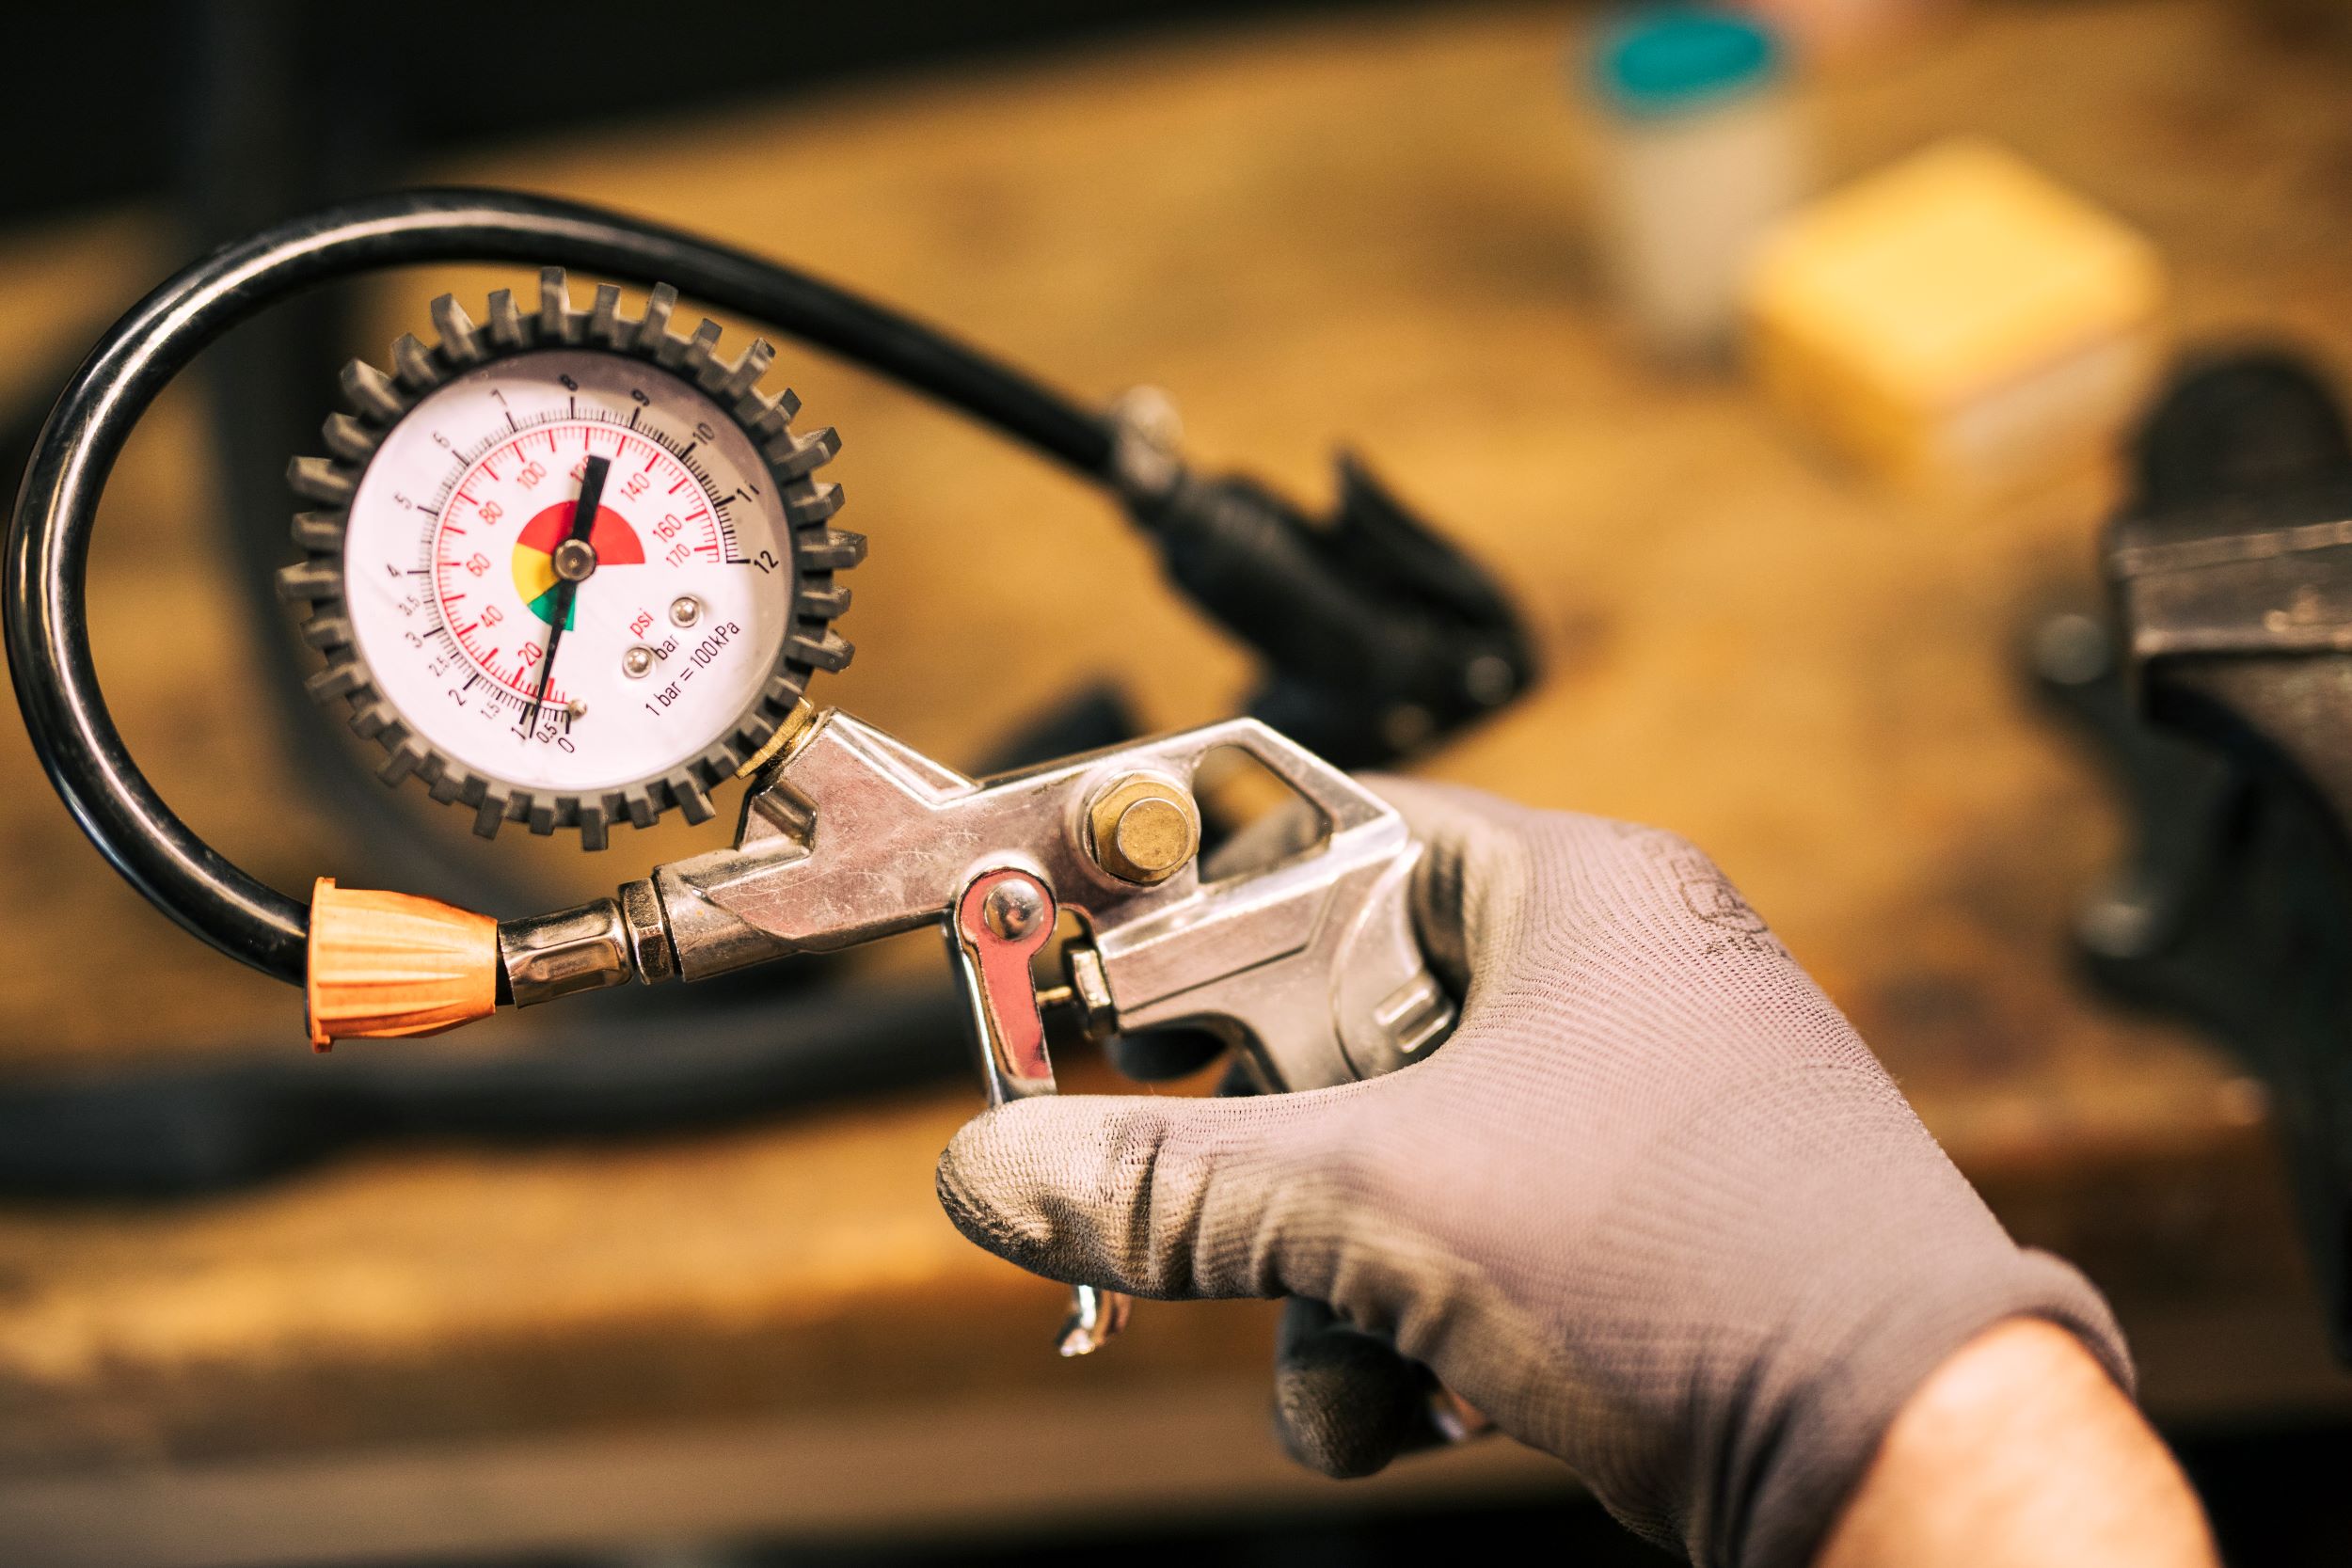
Pressure gauges might not be the flashiest part of industrial equipment, but they’re essential. These quiet, reliable tools keep everything running smoothly in industries like oil and gas, food production, and healthcare. Imagine what could happen if a gauge delivered the wrong reading—pipes could burst, systems might fail, and safety protocols would collapse. These small devices prevent big disasters, making their role indispensable.
To keep pressure gauges accurate and dependable, calibration is required to ensure your gauges stay on point, and ready to handle the demands of any system. In this guide, we’ll break down everything you need to know about the calibration of pressure gauges.
What Is Calibration?
Calibration is about ensuring accuracy. It’s the process of comparing a gauge’s measurements to a trusted reference standard, like a deadweight tester or master gauge. If there’s a mismatch, adjustments bring the gauge back to reliable performance.
Over time, even the best tools can drift from their original accuracy. Wear and tear, tough working conditions, or accidental damage can throw off a gauge’s readings. Calibration corrects these errors, ensuring the device stays precise and dependable. It’s not just a routine task—it’s a key part of maintaining system integrity and avoiding costly mistakes.
How to Calibrate a Pressure Gauge
Step 1: Prepare the Required Equipment
Before you get started, round up your essentials. You’ll need a pressure hand pump (manual, so be ready for a workout), a high-accuracy digital pressure gauge as your reference, adapters to match the threading, and, of course, the gauge you’re calibrating.
Step 2: Set Up the Calibration System
Securely attach the digital pressure gauge to the top of your hand pump. Then, connect the gauge you’re testing to the pump using those adapters. Tighten all connections until they’re snug—no leaks allowed. Before you start, make sure to close the air escape valve on the pump (just turn it clockwise) to lock everything in place and let pressure flow where it’s supposed to.
Step 3: Apply Pressure Gradually
Turn on the digital pressure gauge to activate it. Begin adding pressure gradually using the pump’s levers. Watch the readings on both the reference gauge and the tested gauge. Ideally, the two should show similar measurements as the pressure increases.
Step 4: Test Across Multiple Points
Check the gauge’s accuracy across its range by testing at multiple pressure levels. For a gauge with a 0 to 100 bar scale, test at intervals like 20, 40, 60, and 80 bar. This ensures the gauge is accurate throughout its operating range, not just at a single point.
Step 5: Evaluate Accuracy and Make Adjustments
Compare the readings on your tested gauge with those on the reference gauge. If the numbers are outside the manufacturer’s acceptable range, it’s time for a little fine-tuning.
For analog gauges, you might need to adjust the pointer manually.
And for digital gauges? They could require software tweaks or a professional recalibration.
Step 6: Document Results and Decide on Next Steps
Once you’ve finished calibrating, jot everything down—the readings, any adjustments, and whether the gauge met the required standards. If the gauge still isn’t accurate after all your effort, it might be time to call in the pros or replace it with a shiny new one.
Why Calibrate a Pressure Gauge?
Calibration isn’t just about ticking a box; it’s a critical step in ensuring safety, efficiency, and compliance.
- Safety First: Incorrect readings can lead to overpressure or equipment failures—neither of which you want on your watch.
- Efficiency Matters: Reliable gauges mean less downtime and no wasted resources, keeping everything running smoothly.
- Compliance is Key: Calibration ensures you meet industry standards like ISO or ASME, helping you avoid costly penalties.
- Save Money: Think of calibration as an investment. It’s way cheaper than dealing with broken equipment caused by inaccurate readings.
When Should You Calibrate a Pressure Gauge?
Knowing when to calibrate is as important as the process itself. Here are some common scenarios to watch for:
- Routine Checks: Most gauges need calibration once a year, but high-use or critical ones might need more frequent attention.
- After Repairs or Replacements: If a gauge has been fixed or swapped, make sure it’s calibrated before you use it again.
- Post-Extreme Conditions: Exposure to heat, vibration, or overpressure can mess with accuracy. Recalibrate after any of these events.
- If something feels off or the readings don’t make sense, trust your gut and check it out right away.
FINAL NOTE
If you’re unsure about calibrating your gauge or need expert assistance, professionals like SS Hussain can help. With expertise in calibration and a range of trusted brands like Kipinago and Marshalltown, they ensure your systems run safely and efficiently.
Stay on top of calibration to keep your operations smooth, safe, and cost-effective. These small steps make a big difference.
